


A lot of you guys are surprised to know I take all my own photos for Instagram, Pinterest, Facebook & YouTube.
And yes, I even did this “B.C.” (Before Corona…).
In this post I’m gonna walk you through exactly how I take my own photos for social so you can copy my method & take the stress out of “photoshoots” (because it should be FUN, not stressful).
Before we dive into how to take your own photos, I do want to mention that sometimes, it really is best to hire a professional. For example, when I needed super high-resolution professional shots for my website and main marketing materials (like, stuff that was getting printed out), I hired Claude Charles of @shotsbytopnotch – the absolute BEST photographer and best human! (In fact, he wrote a whole guest post on this blog awhile back on best practices for working with a photographer for the first time).
But when it comes to social media content, we often need a large volume of shots, so, I learned how to style and shoot my own photos. Best decision ever.
Here’s my exact process, step-by-step
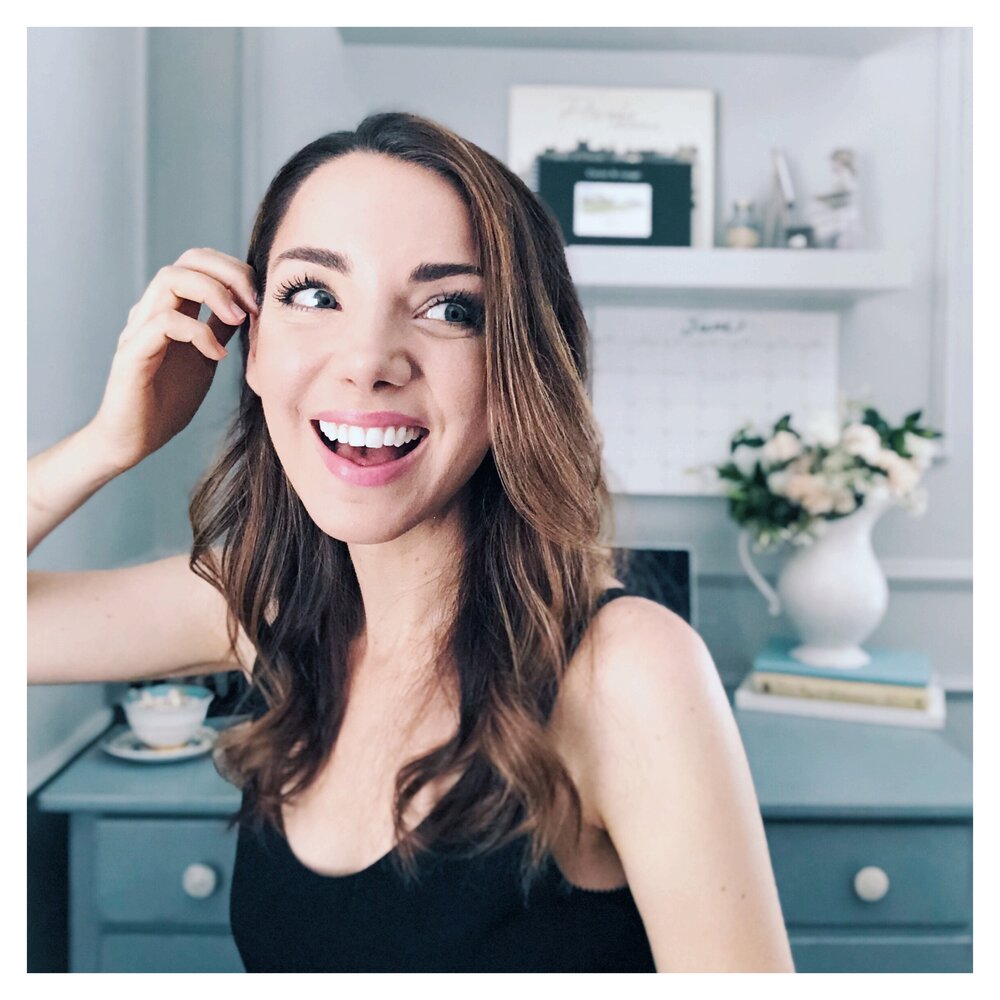
1. Style a small area in your home that is directly opposite a window. Meaning, the window is across the room from you and the light is shining evenly over the surface of your face. This gives you the best natural lighting and makes your skin look 👌🏼.
When styling, keep your brand color palette in mind. Other pro tips: remove clutter, add texture (like a blanket or books or pillow), and add something living like a plant or flowers if you’ve got it (literally “gives life” to the still photo).
2. Set up your phone on a tripod within arms reach but not all up in your face either. You want to see the composition of the shot when you take it. To do this, you’ll need a tripod with a phone clip attachment. Here’s a link to the exact tripod/clip I bought from Amazon. It’s less than $20 and works GREAT. I’ve had it for 2 years now and it’s light without being flimsy.
Make sure the camera is a tiny bit higher than your face. If the camera is straight-on, it’s not the most flattering angle. Having the camera tiled downward ever so slightly looks way better. You welco.
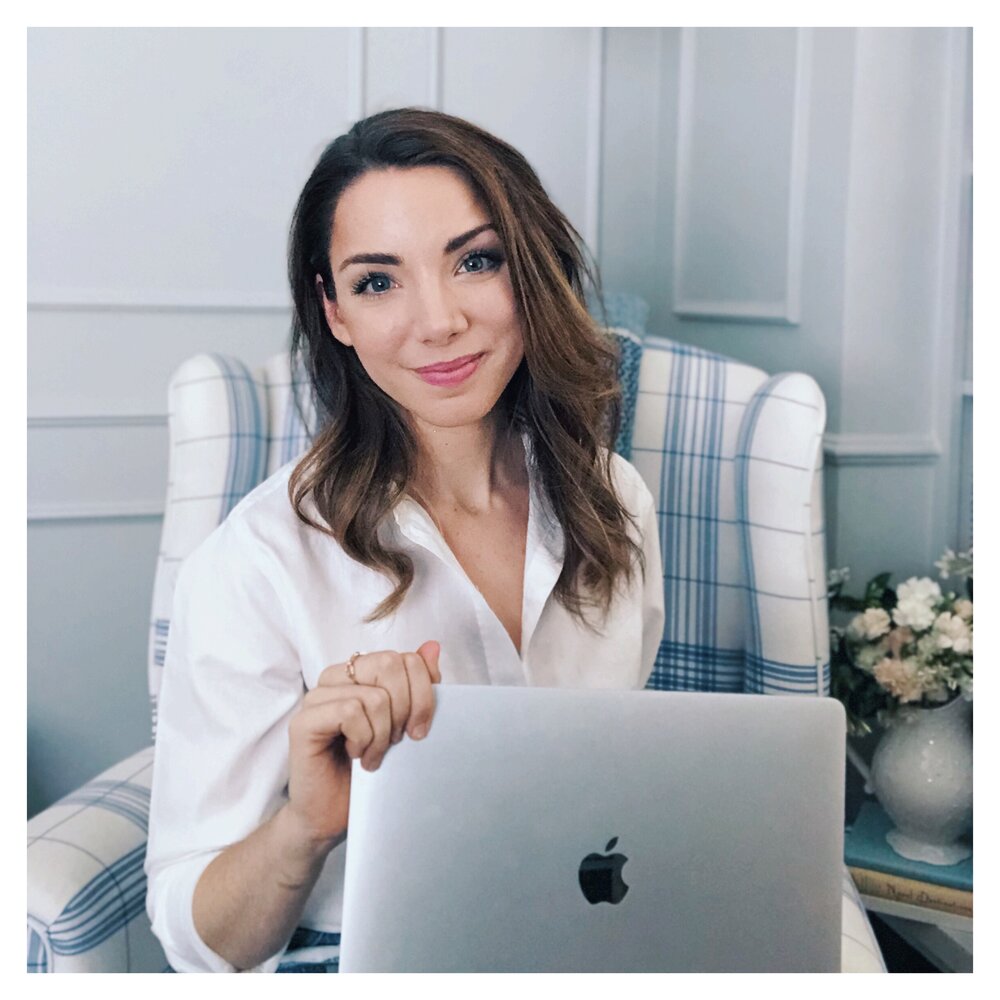
3. Set the camera on portrait, and hit that self-timer. Take at least 10-20 pics because you’re probs only gonna like 3-5 or them. Change your position a bit each time, maybe add a prop like a notebook, mug, glasses, laptop, etc. This way, you switch up the look of the photos a bit so they look like they “go together” but it’s not the exact same photo over and over.
4. Edit w your favorite app (I use VSCO), or post as is!
Repeat the above with 3+ different outfits and Ta-da! You’ve got a MONTH of social media content!
I love batching my social media photos like this because it makes my feed look cohesive without being the exact same thing over and over and over. I also find myself recycling the photos by posting them on my blog, creating new pins for old content, and even in my emails sometimes!
I hope this helps you guys! Again, if you want to see what products I use/recommend, here’s my amazon list (yes, its an affiliate link- but I personally own and use all this stuff. It’s like 4 things and they’re all under $20, lol).
Tag me @kelsey.writes if you do this and post those at-home pics! Lookin’ forward to seeing your quaran-chic shoots!
Now that you’ve got bangin’ photos, be sure to download my free guide on how to write an effective instagram bio!
")
